Simple Guide to Searing and Finishing Meats
One of my favorite cooking methods is searing meat or poultry in a blazin’ hot skillet. I love the crispy, flavorful outside balanced with tender middle.
But, there can be a common issue with this method—the outside of the meat is seared perfectly, while the inside is still undercooked or not cooked to your preference.
I often see chicken recipes that call for browning chicken breasts over the stove top until cooked through. Unless your chicken breast is pounded thinly, you will have a hard time cooking it through internally before the outside is burnt.
A simple fix to this problem is finishing your meat in the oven!
With this technique, you have the benefit of a perfectly seared outside, while gently cooking the inside to your preferred temperature.
Let's start with the basic tips for getting a perfect sear on any type of meat.
1) Ensure your meat is around room temperature before you start cooking it.
Remove the meat from the fridge 30-60 minutes ahead of time.
This helps reduce the temperature difference between the meat and hot pan, helping it cook quickly and evenly.
2) Pat the meat dry.
The meat should be as dry as possible so it will start searing immediately when it hits the pan.
This also helps with even cooking and browning.
3) Salt/season your meat.
Salt provides flavor and tenderizes the meat.
For steak, pork, & poultry, you can season (salt) your meat up to a day in advance. For fish, you normally season up to 30 minutes in advance. If you don't remember, no worries! Just season the meat as soon as you take it out of the fridge for maximum flavor.
4) When you’re ready to start cooking, heat your pan or cast-iron skillet.
The pan doesn't need to heat up for long, about 2-3 minutes.
I love using my Lodge cast iron skillets for this!
5) Add oil to your hot pan/skillet.
Heating up oil before adding the meat helps the meat not stick to your pan. It also ensures the meat will start searing immediately, instead of just soaking up oil.
To see if the oil is hot, gently swirling the oil around your pan. If it swirls easily and has thinned, you are ready to add your meat. You can also splash a bit of water on the oil to see if it reacts.
Although I typically sear meats with olive oil, if you are cooking over very high heat for meals like stir fry, then use oils with a high "smoke point".
High smoke point oils include avocado, canola, vegetable, grapeseed, etc.
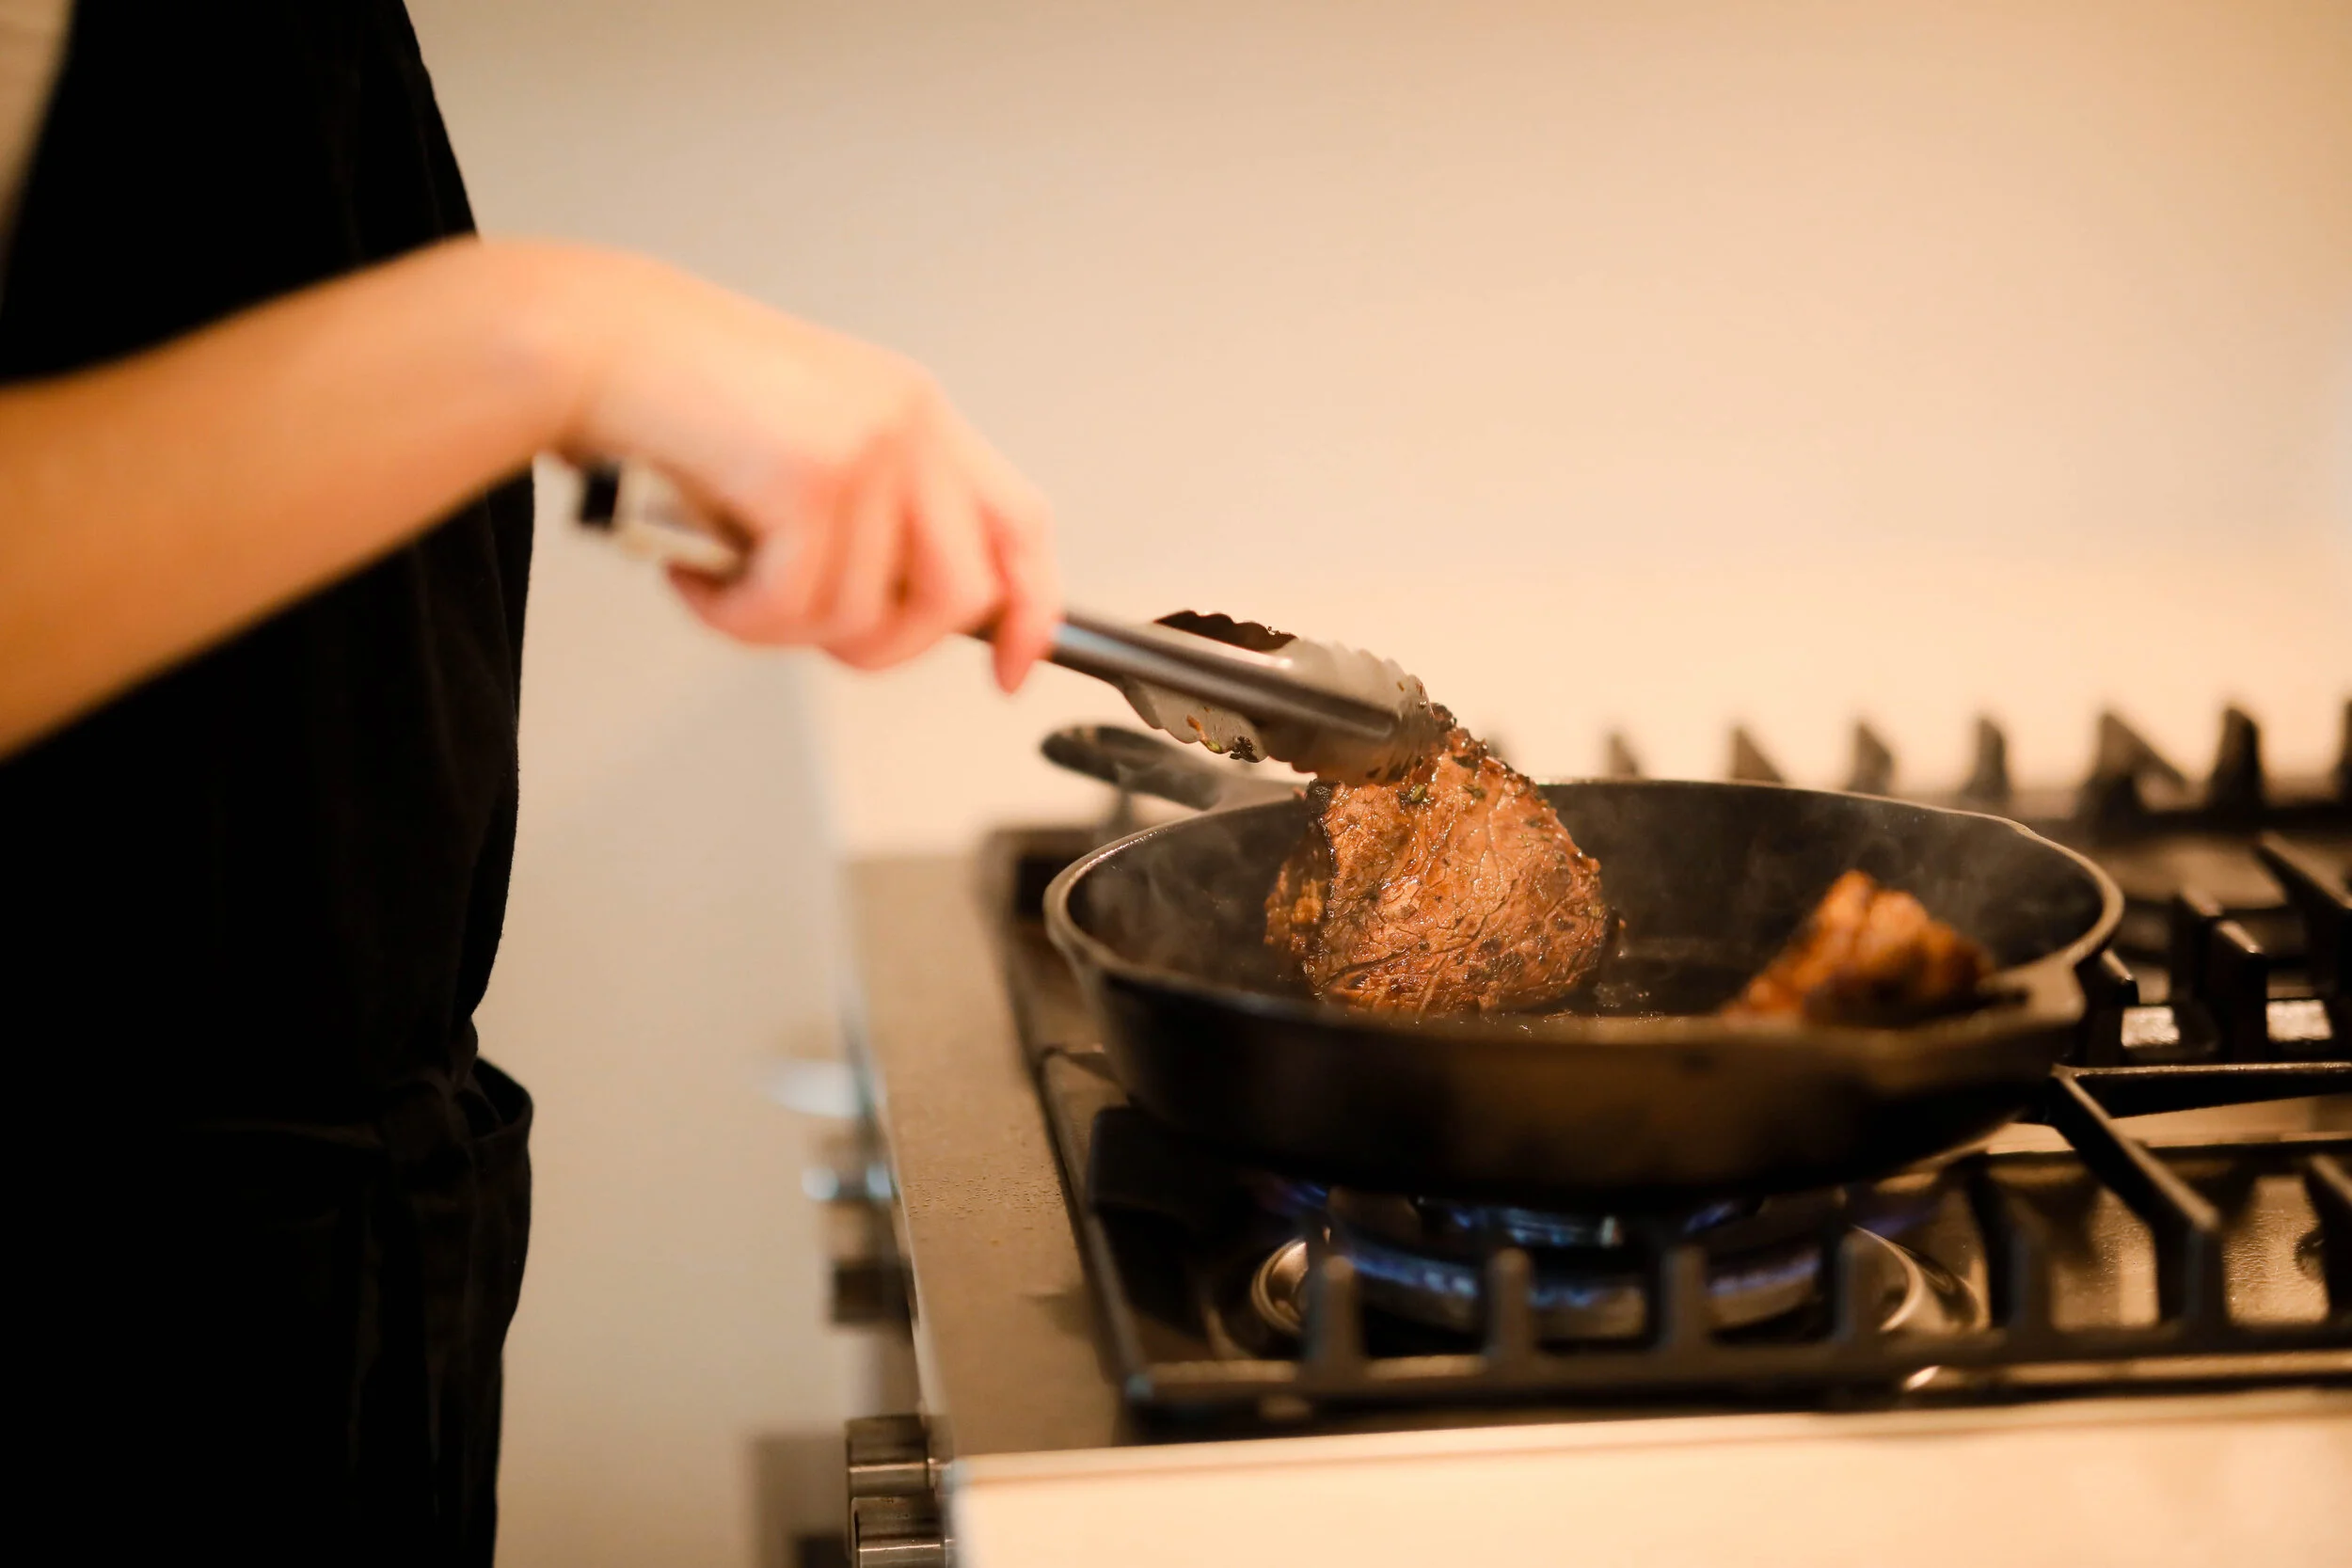
6) Add your meat to your pan/skillet.
Do not flip the meat until the first side is well seared. If you try flipping and the meat sticks to the pan, let it sear longer until it lifts off easily.
Searing time depends on the type of meat you're cooking. You can determine the proper sear time by seeing when the meat easily lifts from your pan, or lifting an edge to see if its your desired color.
7) Remember the sides of the meat.
For thicker cuts of meat, be sure to give the sides a nice crust too!
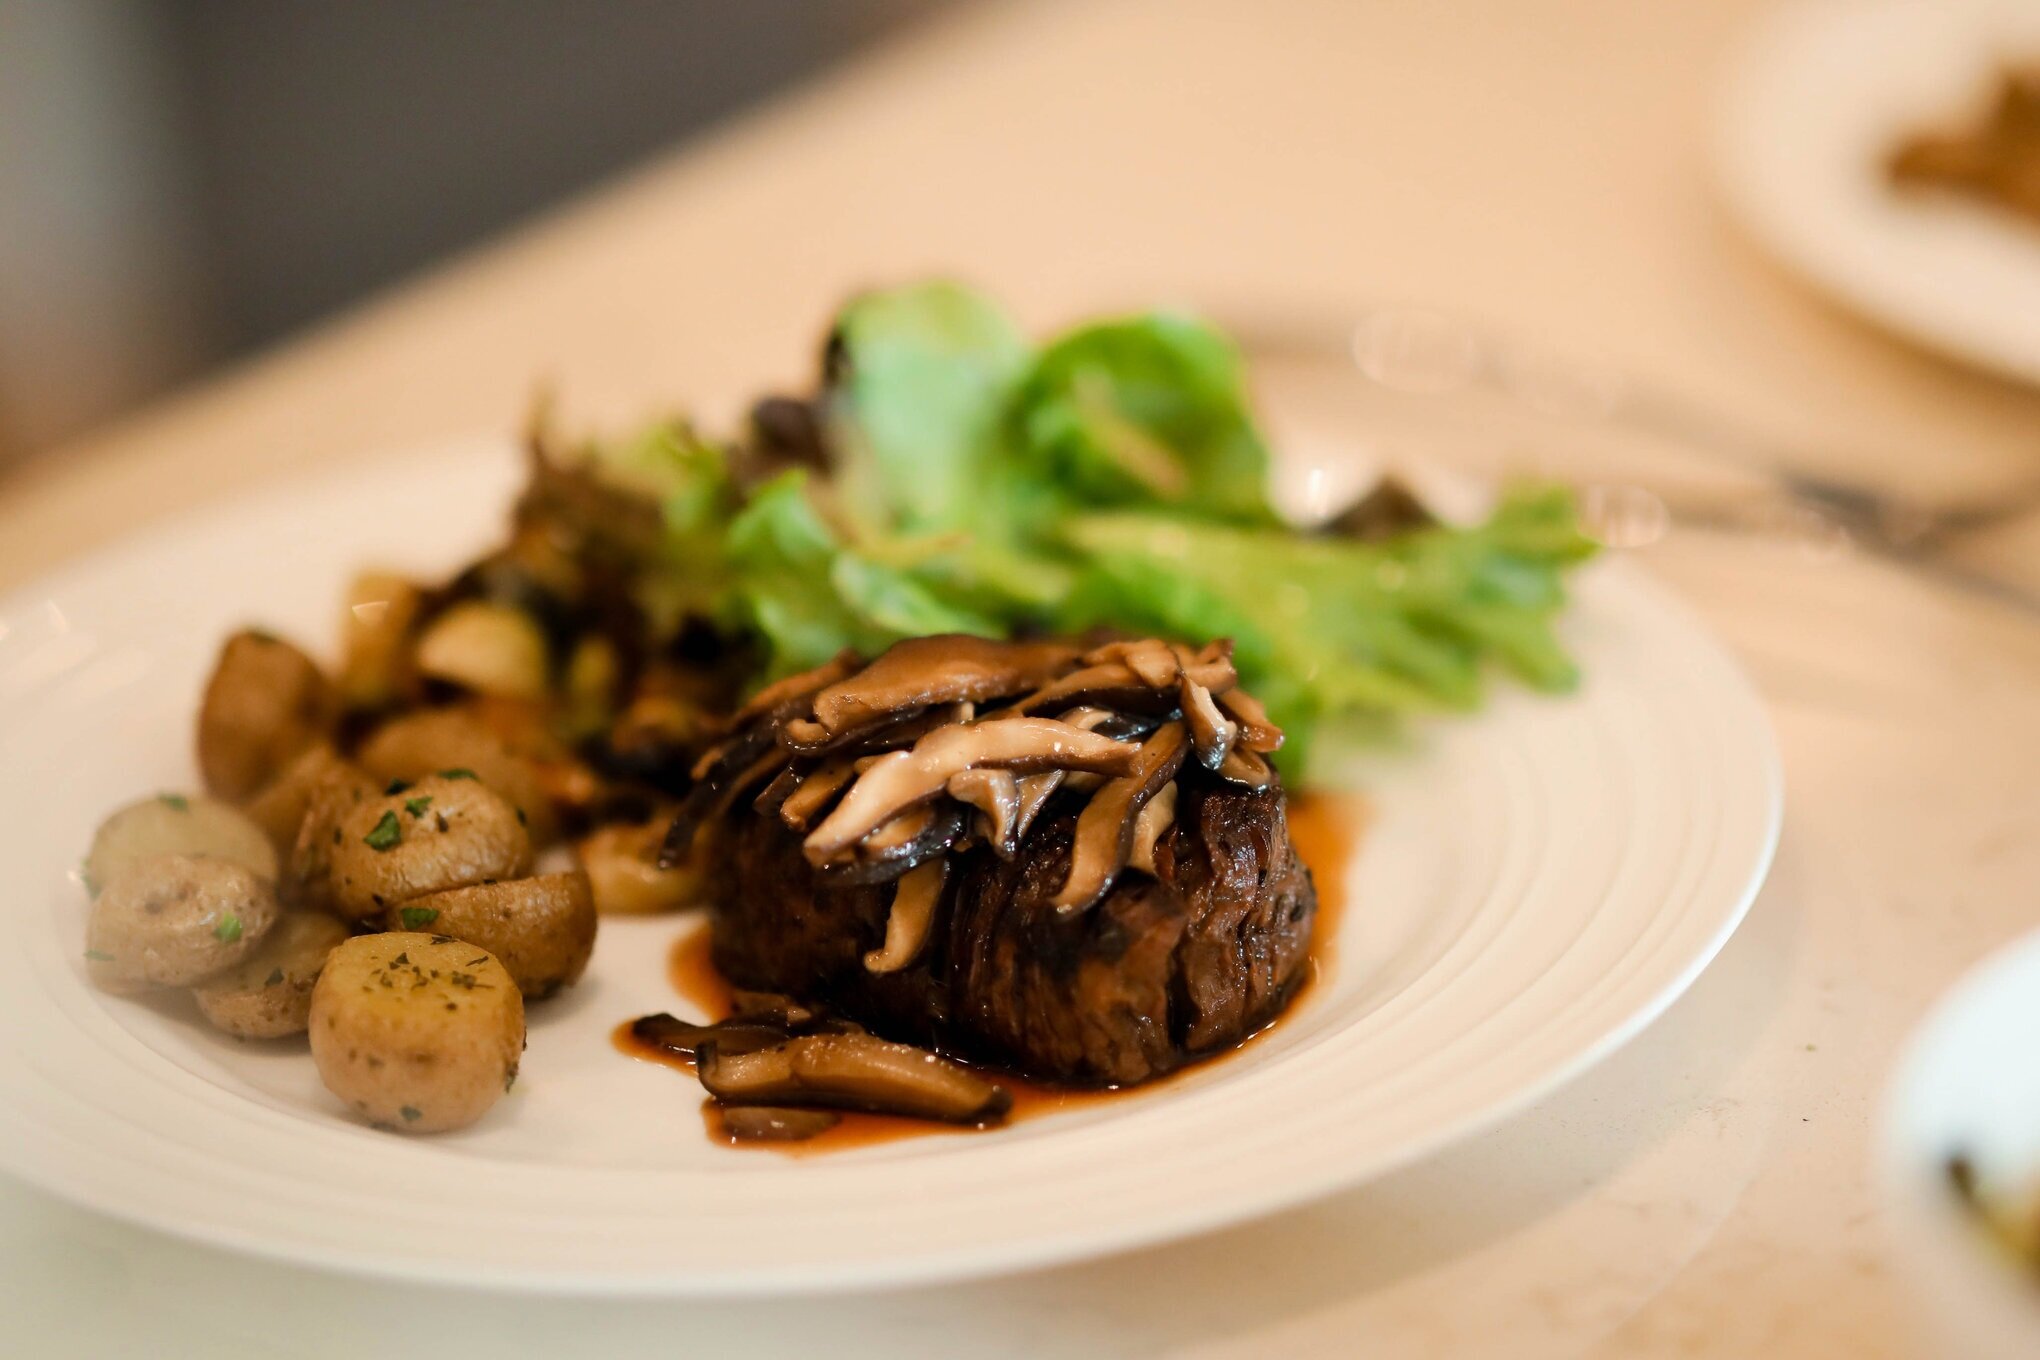
You have the perfect sear, but the inside isn’t cooked to your preference? It's time to finish the meat in the oven!
8) Place your meat in a 400 degree oven in an oven-proof skillet or separate baking sheet.
I normally transfer the meat onto a separate baking sheet lined with foil.
If the pan/skillet you used on the stovetop is ovenproof, you can place the entire pan in the oven.
Note: This will cook one side of the meat slightly longer than the other if you don't flip it halfway in the oven. If you choose to do this, I recommend searing it for 1-2 minutes less on the second side, then cooking it in the oven with the second side down.
9) Cook time in the oven depends on the thickness of the meat and your desired internal temperature.
Here are some tips to help you the first time around:
Check the internal temperature of the meat before placing it in the oven. If it is not your desired internal temperature, cook it for ~1-2 minutes in the oven for each additional 5 degrees you want to be added.
I typically finish chicken breasts in the oven for ~5-10 minutes after browning on the stovetop, depending on thickness.
Here is an article that can give you a ballpark estimate for how long to finish your meats in the oven.
Be sure to factor in "carry-over" cooking.
Meat continues cooking internally for another ~5-10 degrees after you remove it from a heat source.
For example, if you want a medium steak, remove it from the oven when it says 130 degrees, so it will cook up to 135 degrees upon serving.
Here is a quick article from Cook's Illustrated about carry-over cooking.
10) Remove from the oven and let the meat rest for ~5-10 minutes before serving.
Resting “locks-in” the juices so they distribute evenly throughout the meat instead of running all of your plate once you cut through it.
The length of rest time depends on what you cooked.
Individually-sized steaks, pork chops, and chicken should rest for 5 minutes.
Large roasts should rest for at least 10-20 minutes before carving.
Fish doesn’t have to rest at all!
11) Eat and enjoy!
Other Helpful Meat Preparing References
Take a look at our Salt Guide to learn more on how salt enhances the flavor of your meat.
View the Internal Meat Temperature Reference Guide to ensure you always cook meats to your preference.