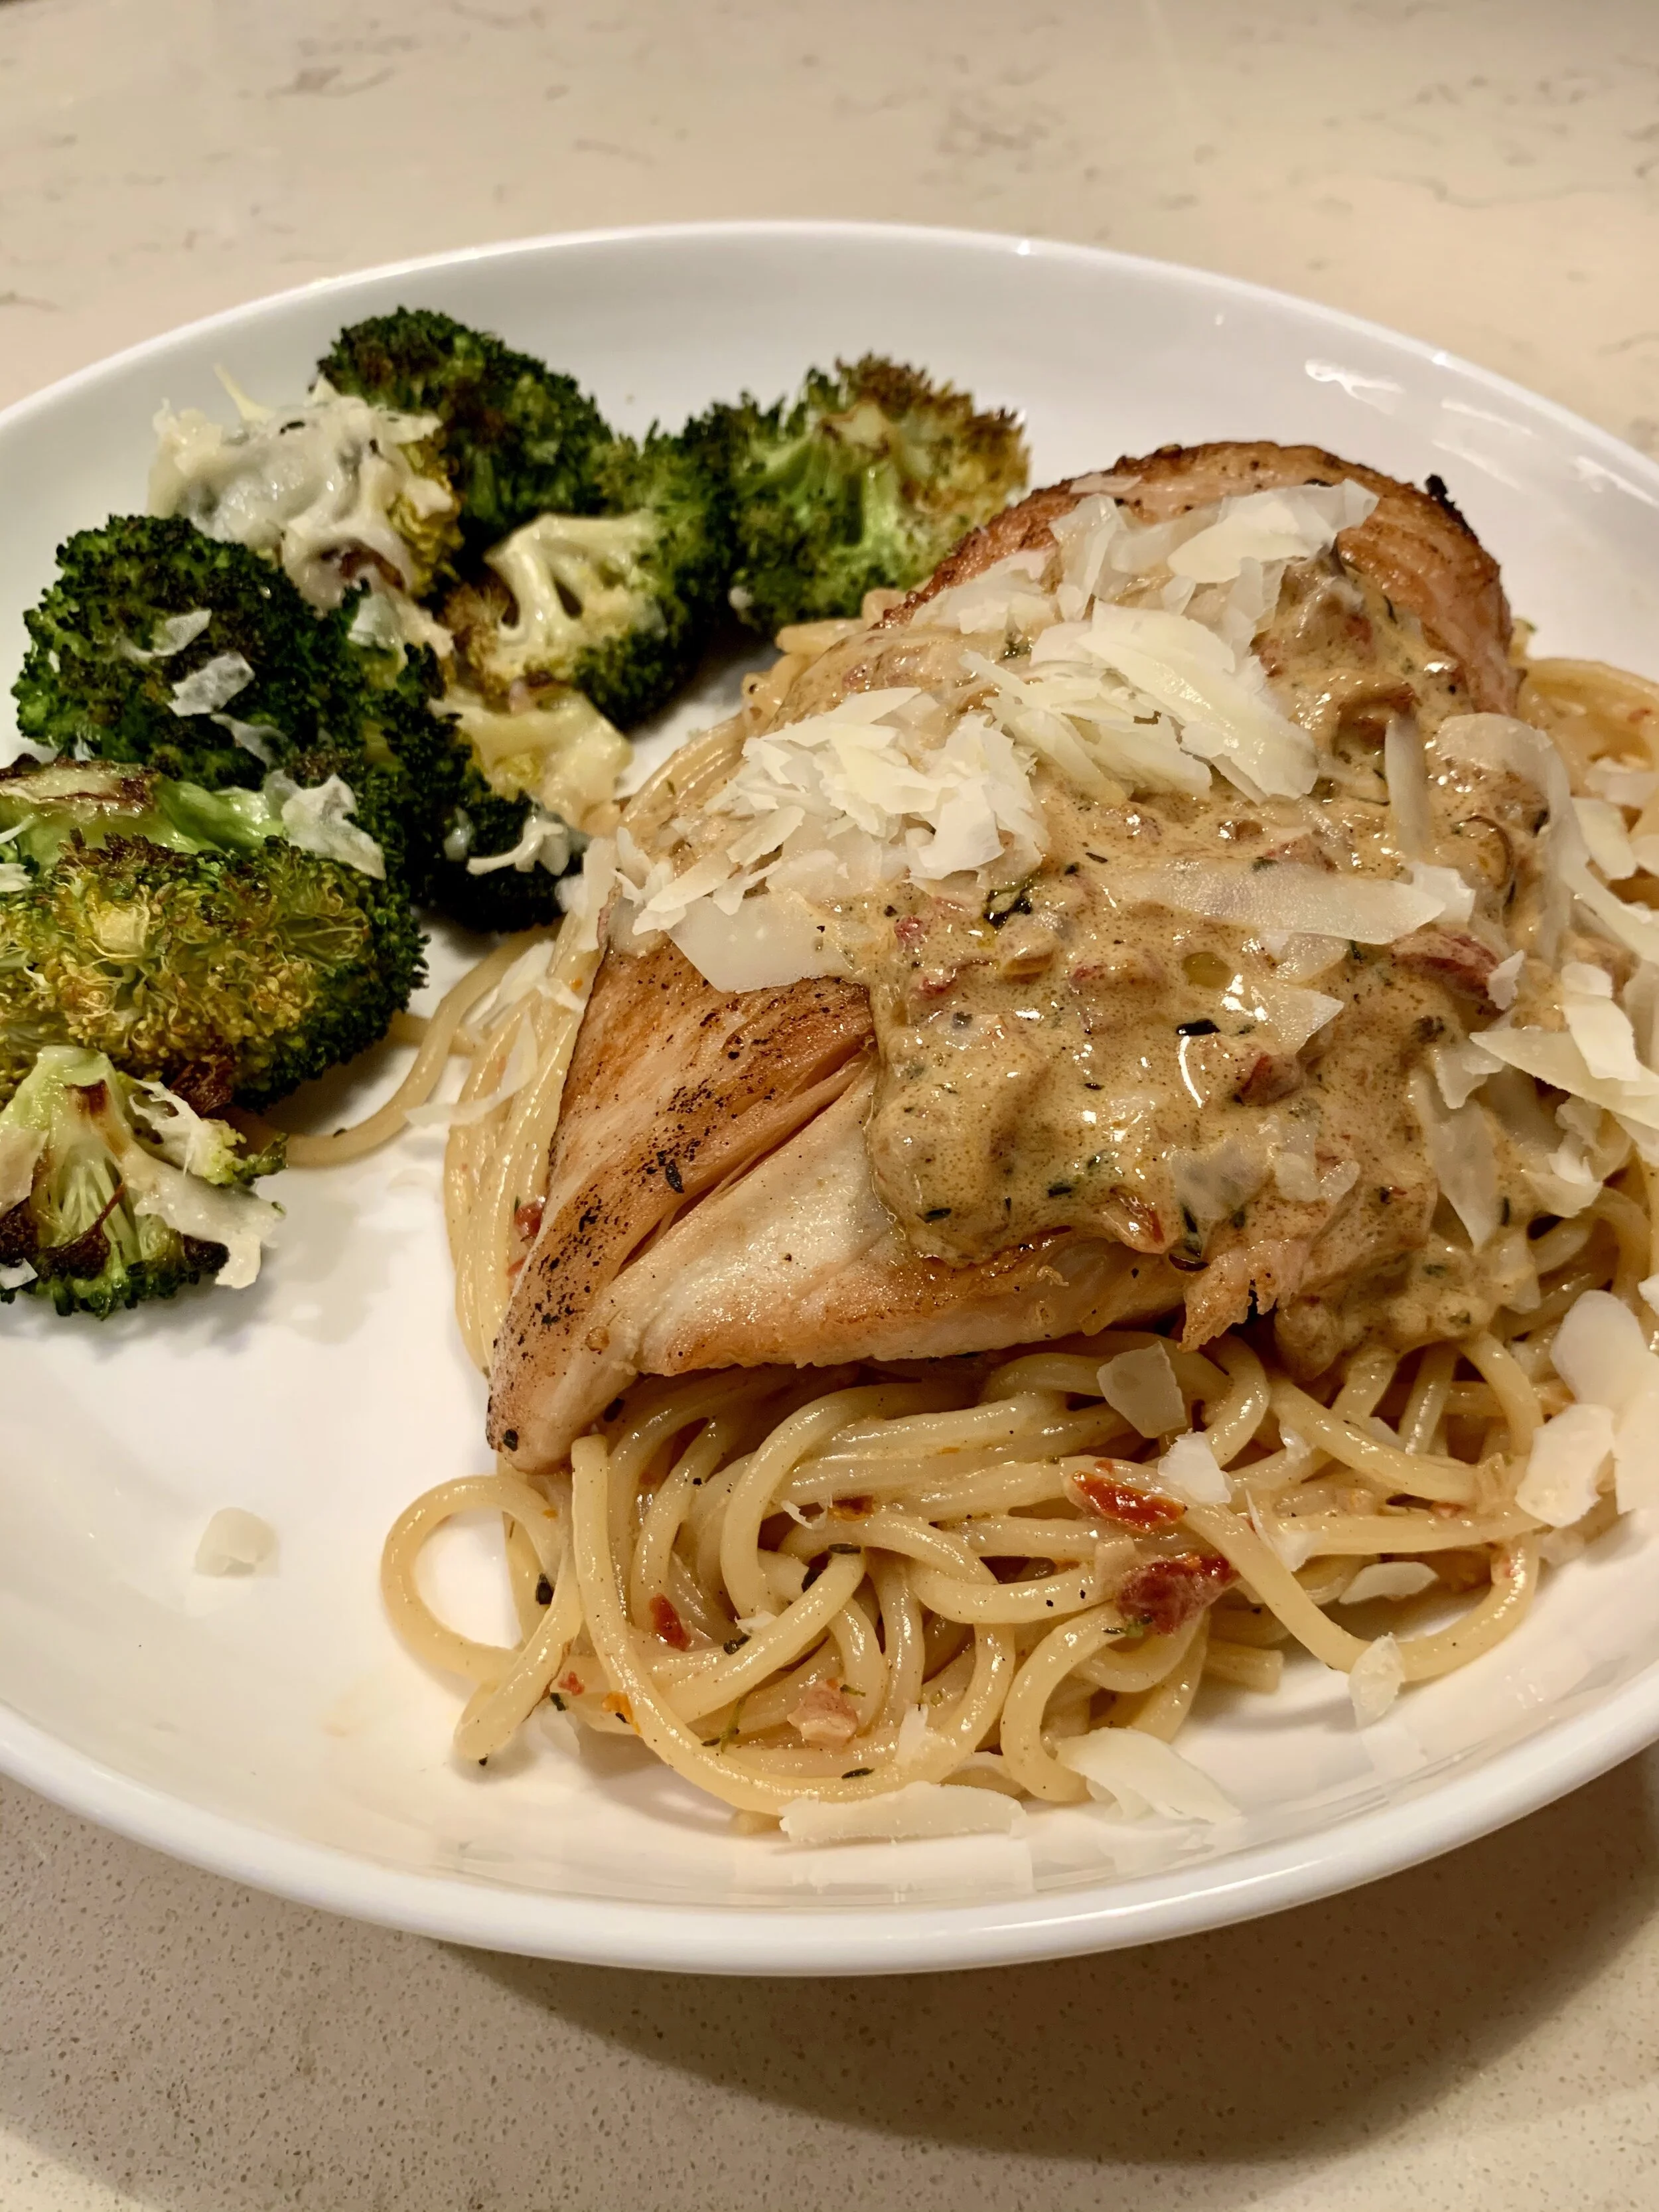
Creamy Sun-Dried Tomato Pasta with Chicken & Roasted Parmesan Broccoli
Serves: 4 People | Total Time: ~60 minutes
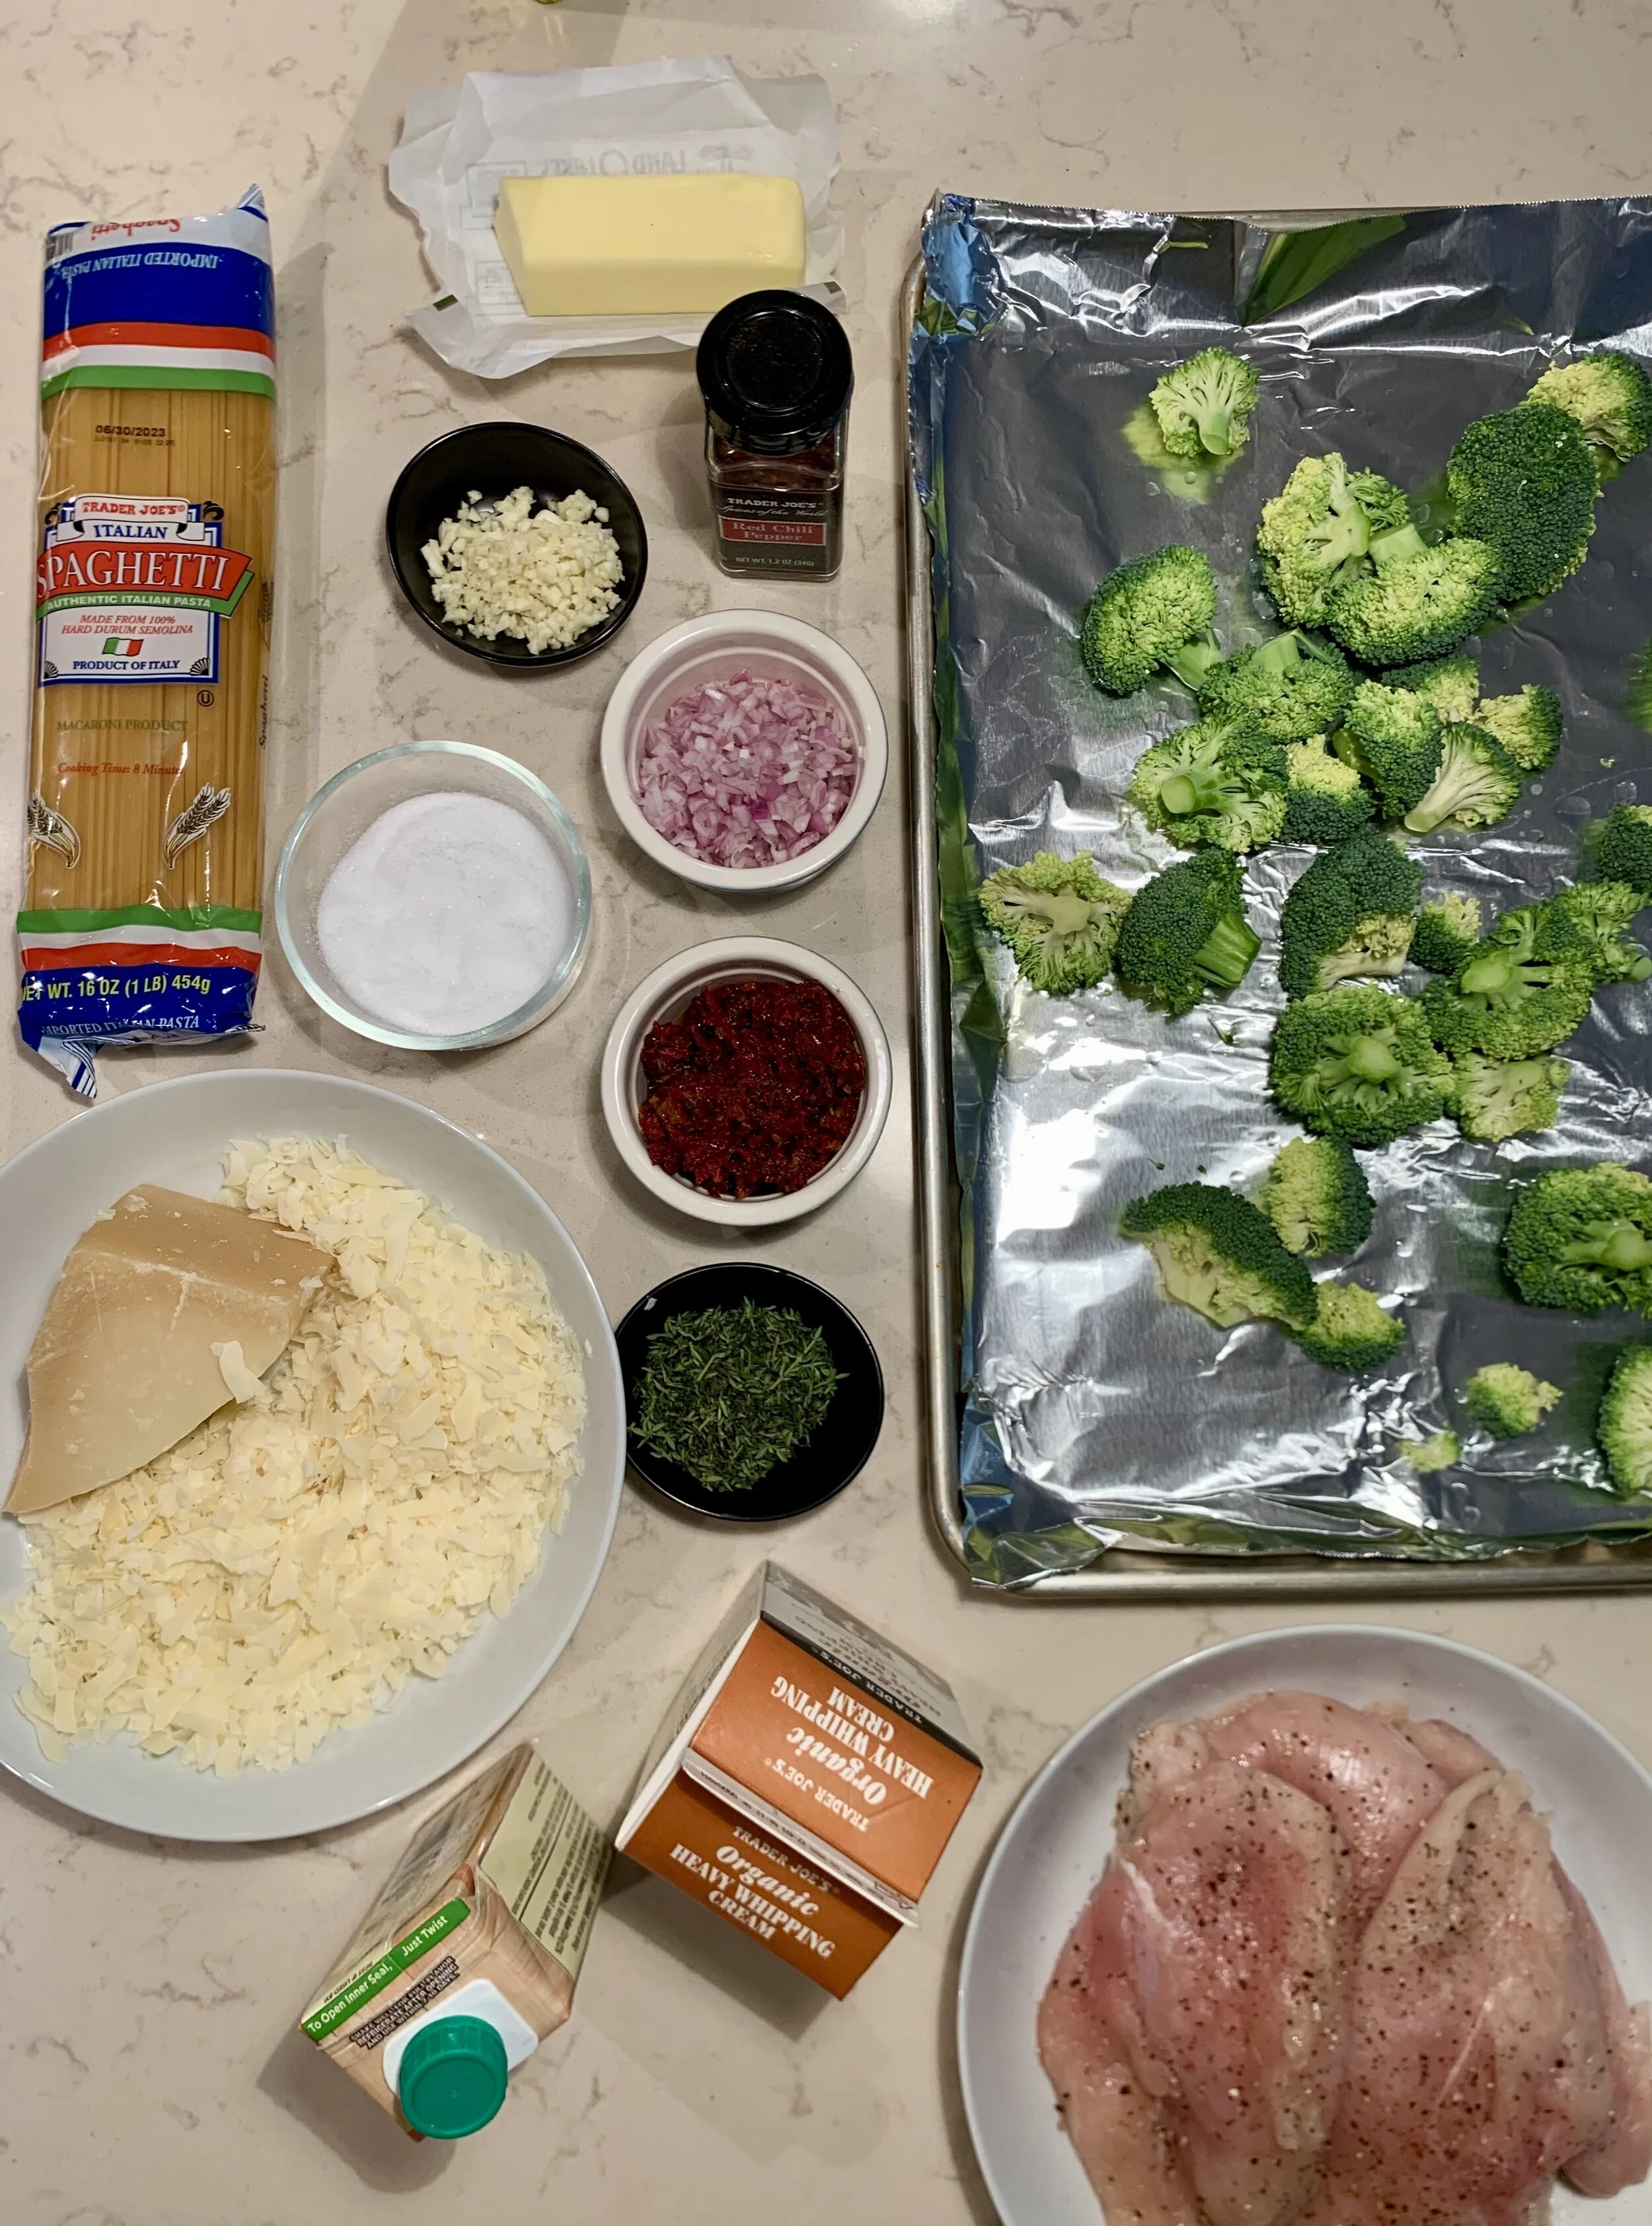
Ingredients:
Creamy Sun-Dried Tomato Pasta with Chicken
4 Chicken Breasts
5 to 8 oz. jar of sun-dried tomatoes in olive oil (We will use 1/3 c. chopped sun-dried tomatoes and 2 Tbs. of the oil in the jar).
4 garlic cloves, finely chopped
1 shallot, finely chopped
2 Tbs. fresh thyme, chopped (or 1 tablespoon dried thyme)
1/4 tsp. red chili flakes
1 1/2 c. chicken broth
1 c. heavy cream
8 oz. dried spaghetti (2 oz. per person) (you can use fresh pasta if desired!)
4 Tbs. of butter
Salt
Pepper
Olive Oil
1/2 c. freshly shaved Parmesan cheese (you can buy pre-grated if you want to reduce time!)
Roasted Parmesan Broccoli
2 or 3 large heads of broccoli
Olive Oil
Salt
1/2 c. freshly shaved Parmesan cheese (you can buy pre-grated if you want to reduce time!)
Menu Steps:
1) Preheat oven to 400 degrees Fahrenheit.
2) Prep chicken breasts.
Pound chicken breasts evenly to 1/2 to 1 inch thick.
Sprinkle both sides with salt and a few grinds of pepper. Set aside.
3) Prep your ingredients: Sun-dried tomatoes, garlic, shallot, thyme, broccoli, and Parmesan.
Chop fresh thyme to equal ~2 Tbs. total. Set aside.
Pull apart 4 cloves of garlic. Peel. Chop finely. Set aside.
Chop sun-dried tomatoes into coarse pieces until it equals 1/3 c. total. Set aside.
Chop the main broccoli stem and discard. Chop at the smaller stems to get individual florets. Set aside.
Grate parmesan to equal ~1 cup (1/2 for topping and 1/2 for broccoli).
4) Fill a large pot with water and a generous sprinkle of salt. Place the pot on high heat on the stovetop and bring to a boil. You will use this pot of boiling water later to cook the pasta.
5) Prepare broccoli.
Place the florets on a baking sheet. Drizzle with a glug of olive oil and sprinkle with salt. Toss.
Place in the 400-degree oven.
The broccoli will cook for ~20-25 min total, but set a timer for 15 minutes so you can toss the florets and add your parmesan mid-way.
6) Begin heating a pan/cast-iron skillet for the chicken.
Once the pan is hot, add 2 Tbs. of the oil from the sun-dried tomato jar + 1 Tb. of regular olive oil.
Once the oil is hot, add your chicken breasts.
7) Cook the chicken breasts until golden brown on both sides.
If the chicken is golden brown, but is not cooked through internally, transfer the chicken to a separate baking sheet and place in the 400-degree oven for ~7 minutes (or until it reaches 165 degrees internally).
If the chicken is golden brown AND cooked through internally, set the chicken aside and keep warm.
If you have a warming drawer or a second oven, set it to 170 degrees to keep the chicken warm while you make the sauce.
If you do not have a place to keep it warm, just set the chicken on a separate plate and cover it with aluminum foil.
8) Add your pasta to the boiling water if using dried pasta.
Cook pasta for the time instructed on your box.
If you are using fresh pasta, do not add the pasta until after the sauce is finished because it typically only takes 2-3 minutes to cook!
9) Check on your broccoli. Once it has been cooking for ~15 minutes, toss the broccoli and add the 1/2 c. of shaved Parmesan on top. Place it back in the oven for the final 10 minutes.
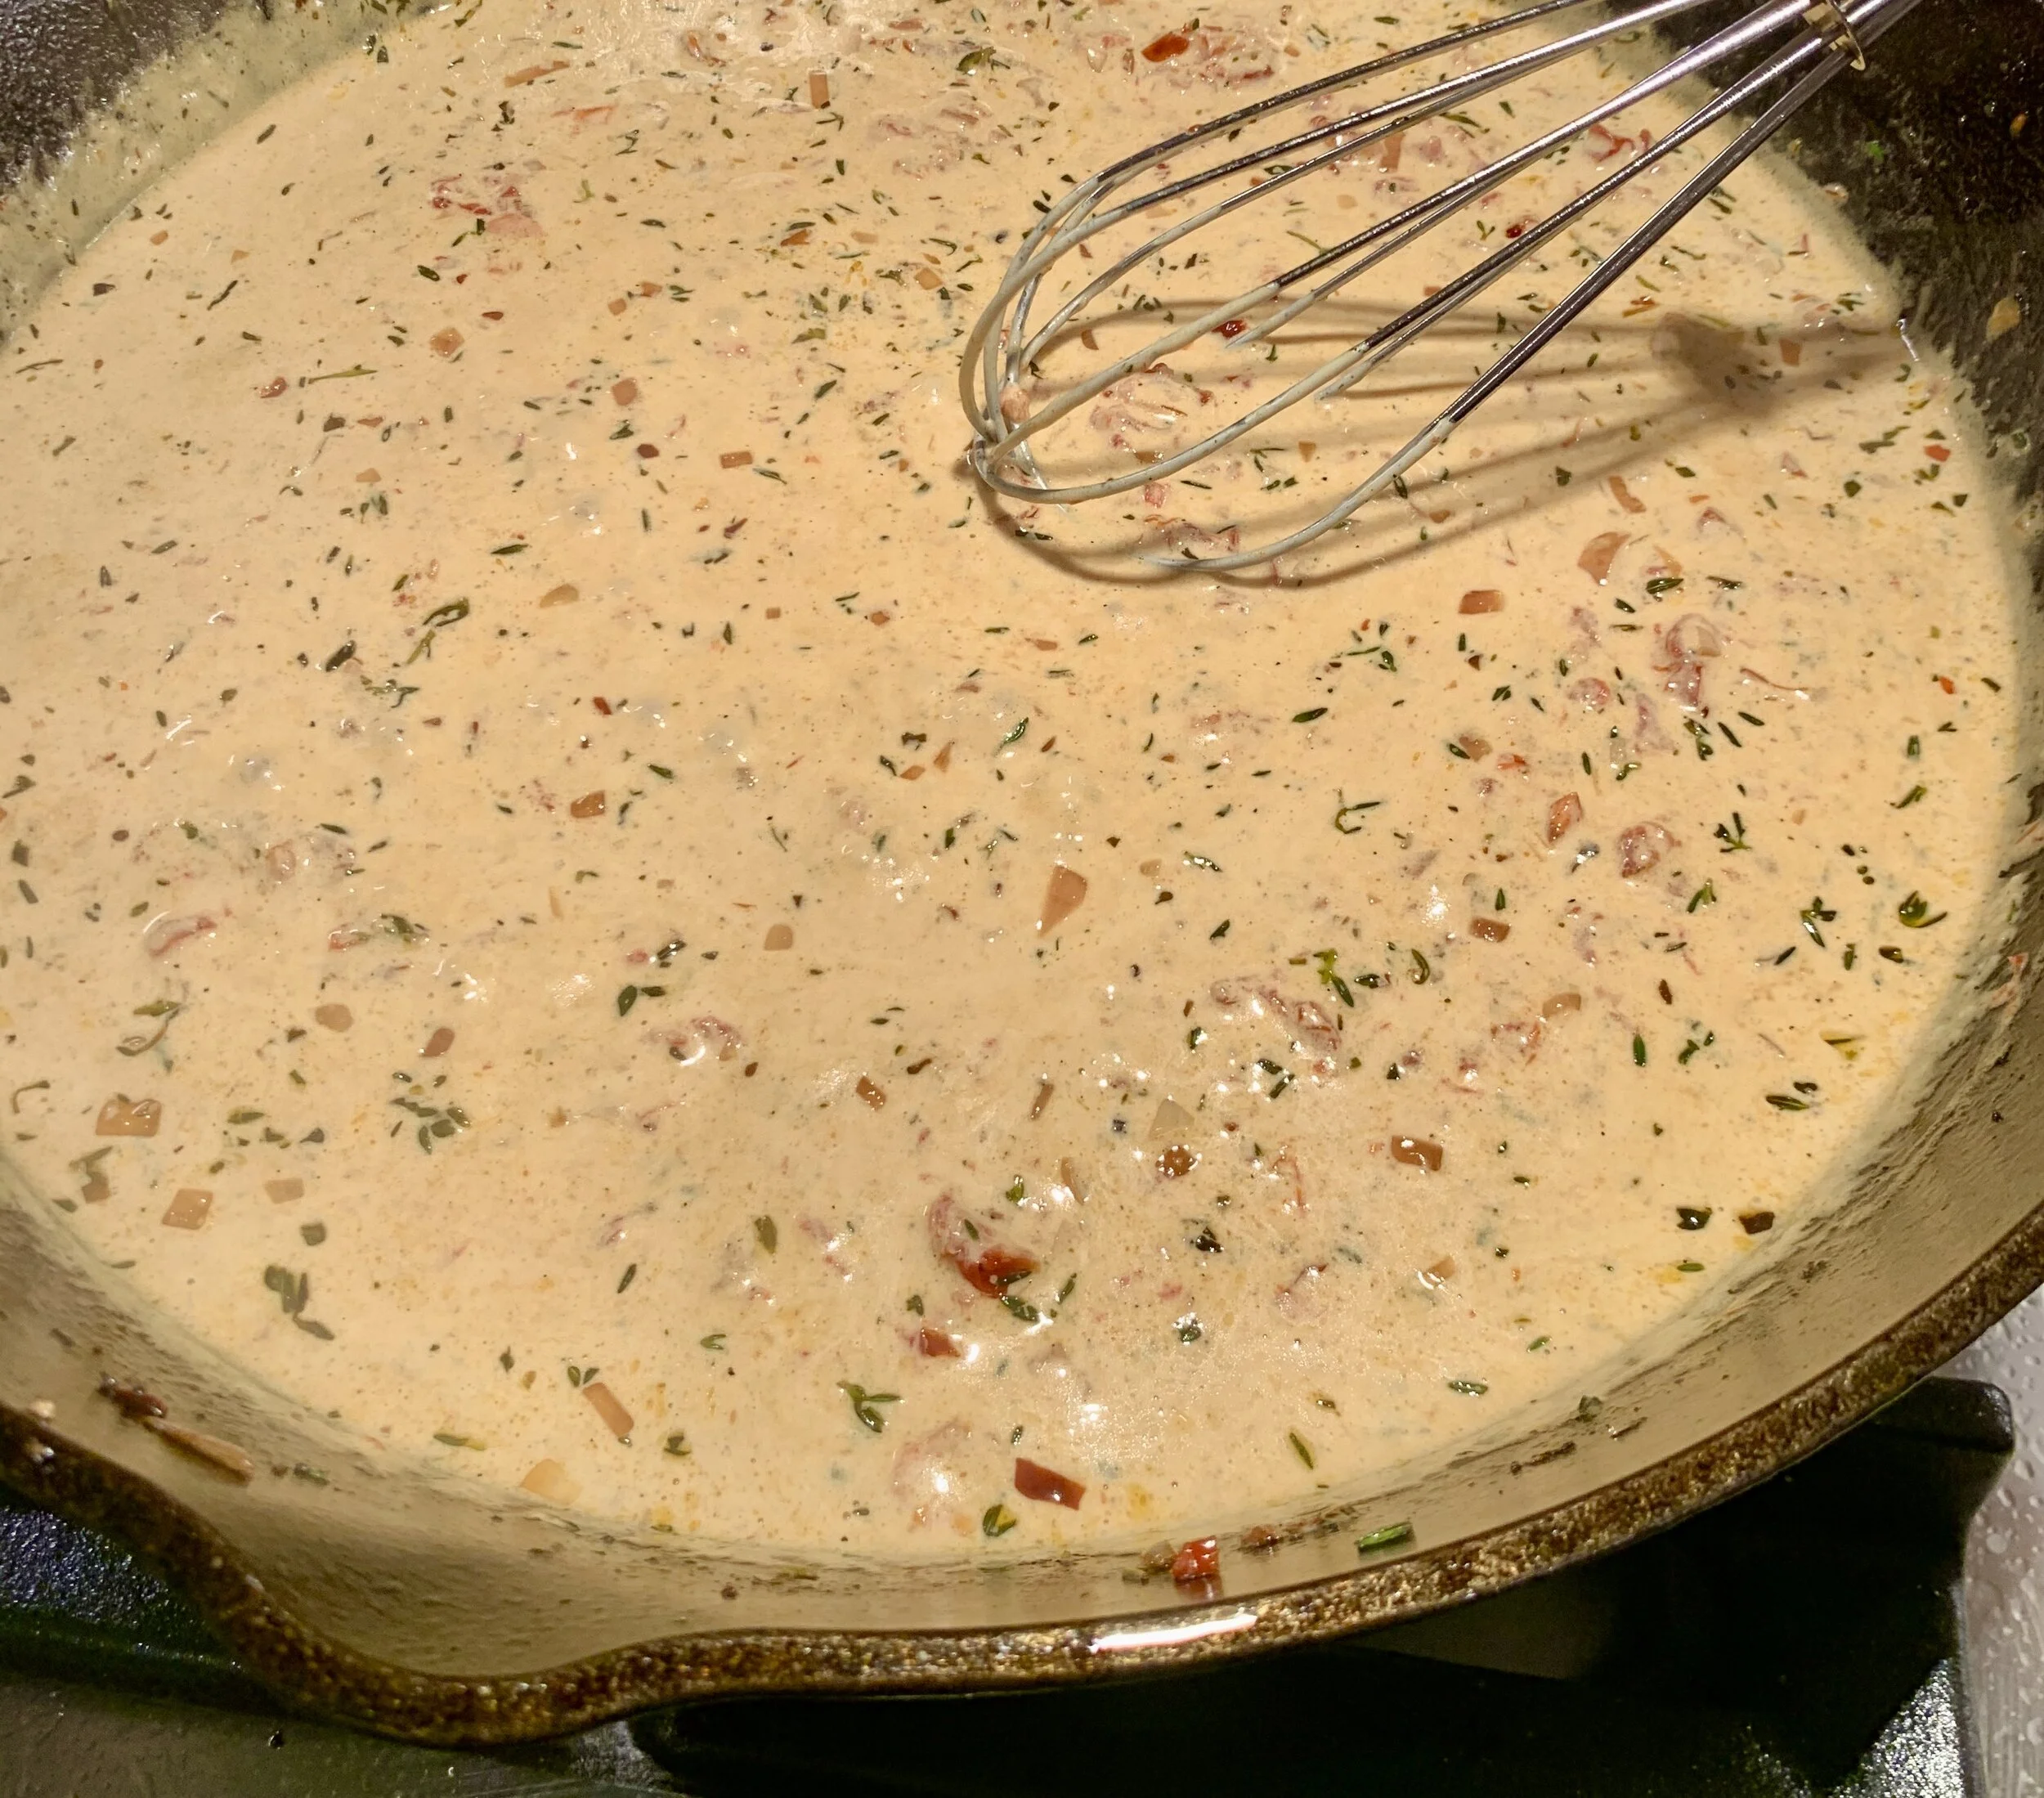
10) Set stovetop burner to medium/low. Begin making the creamy sun-dried tomato sauce.
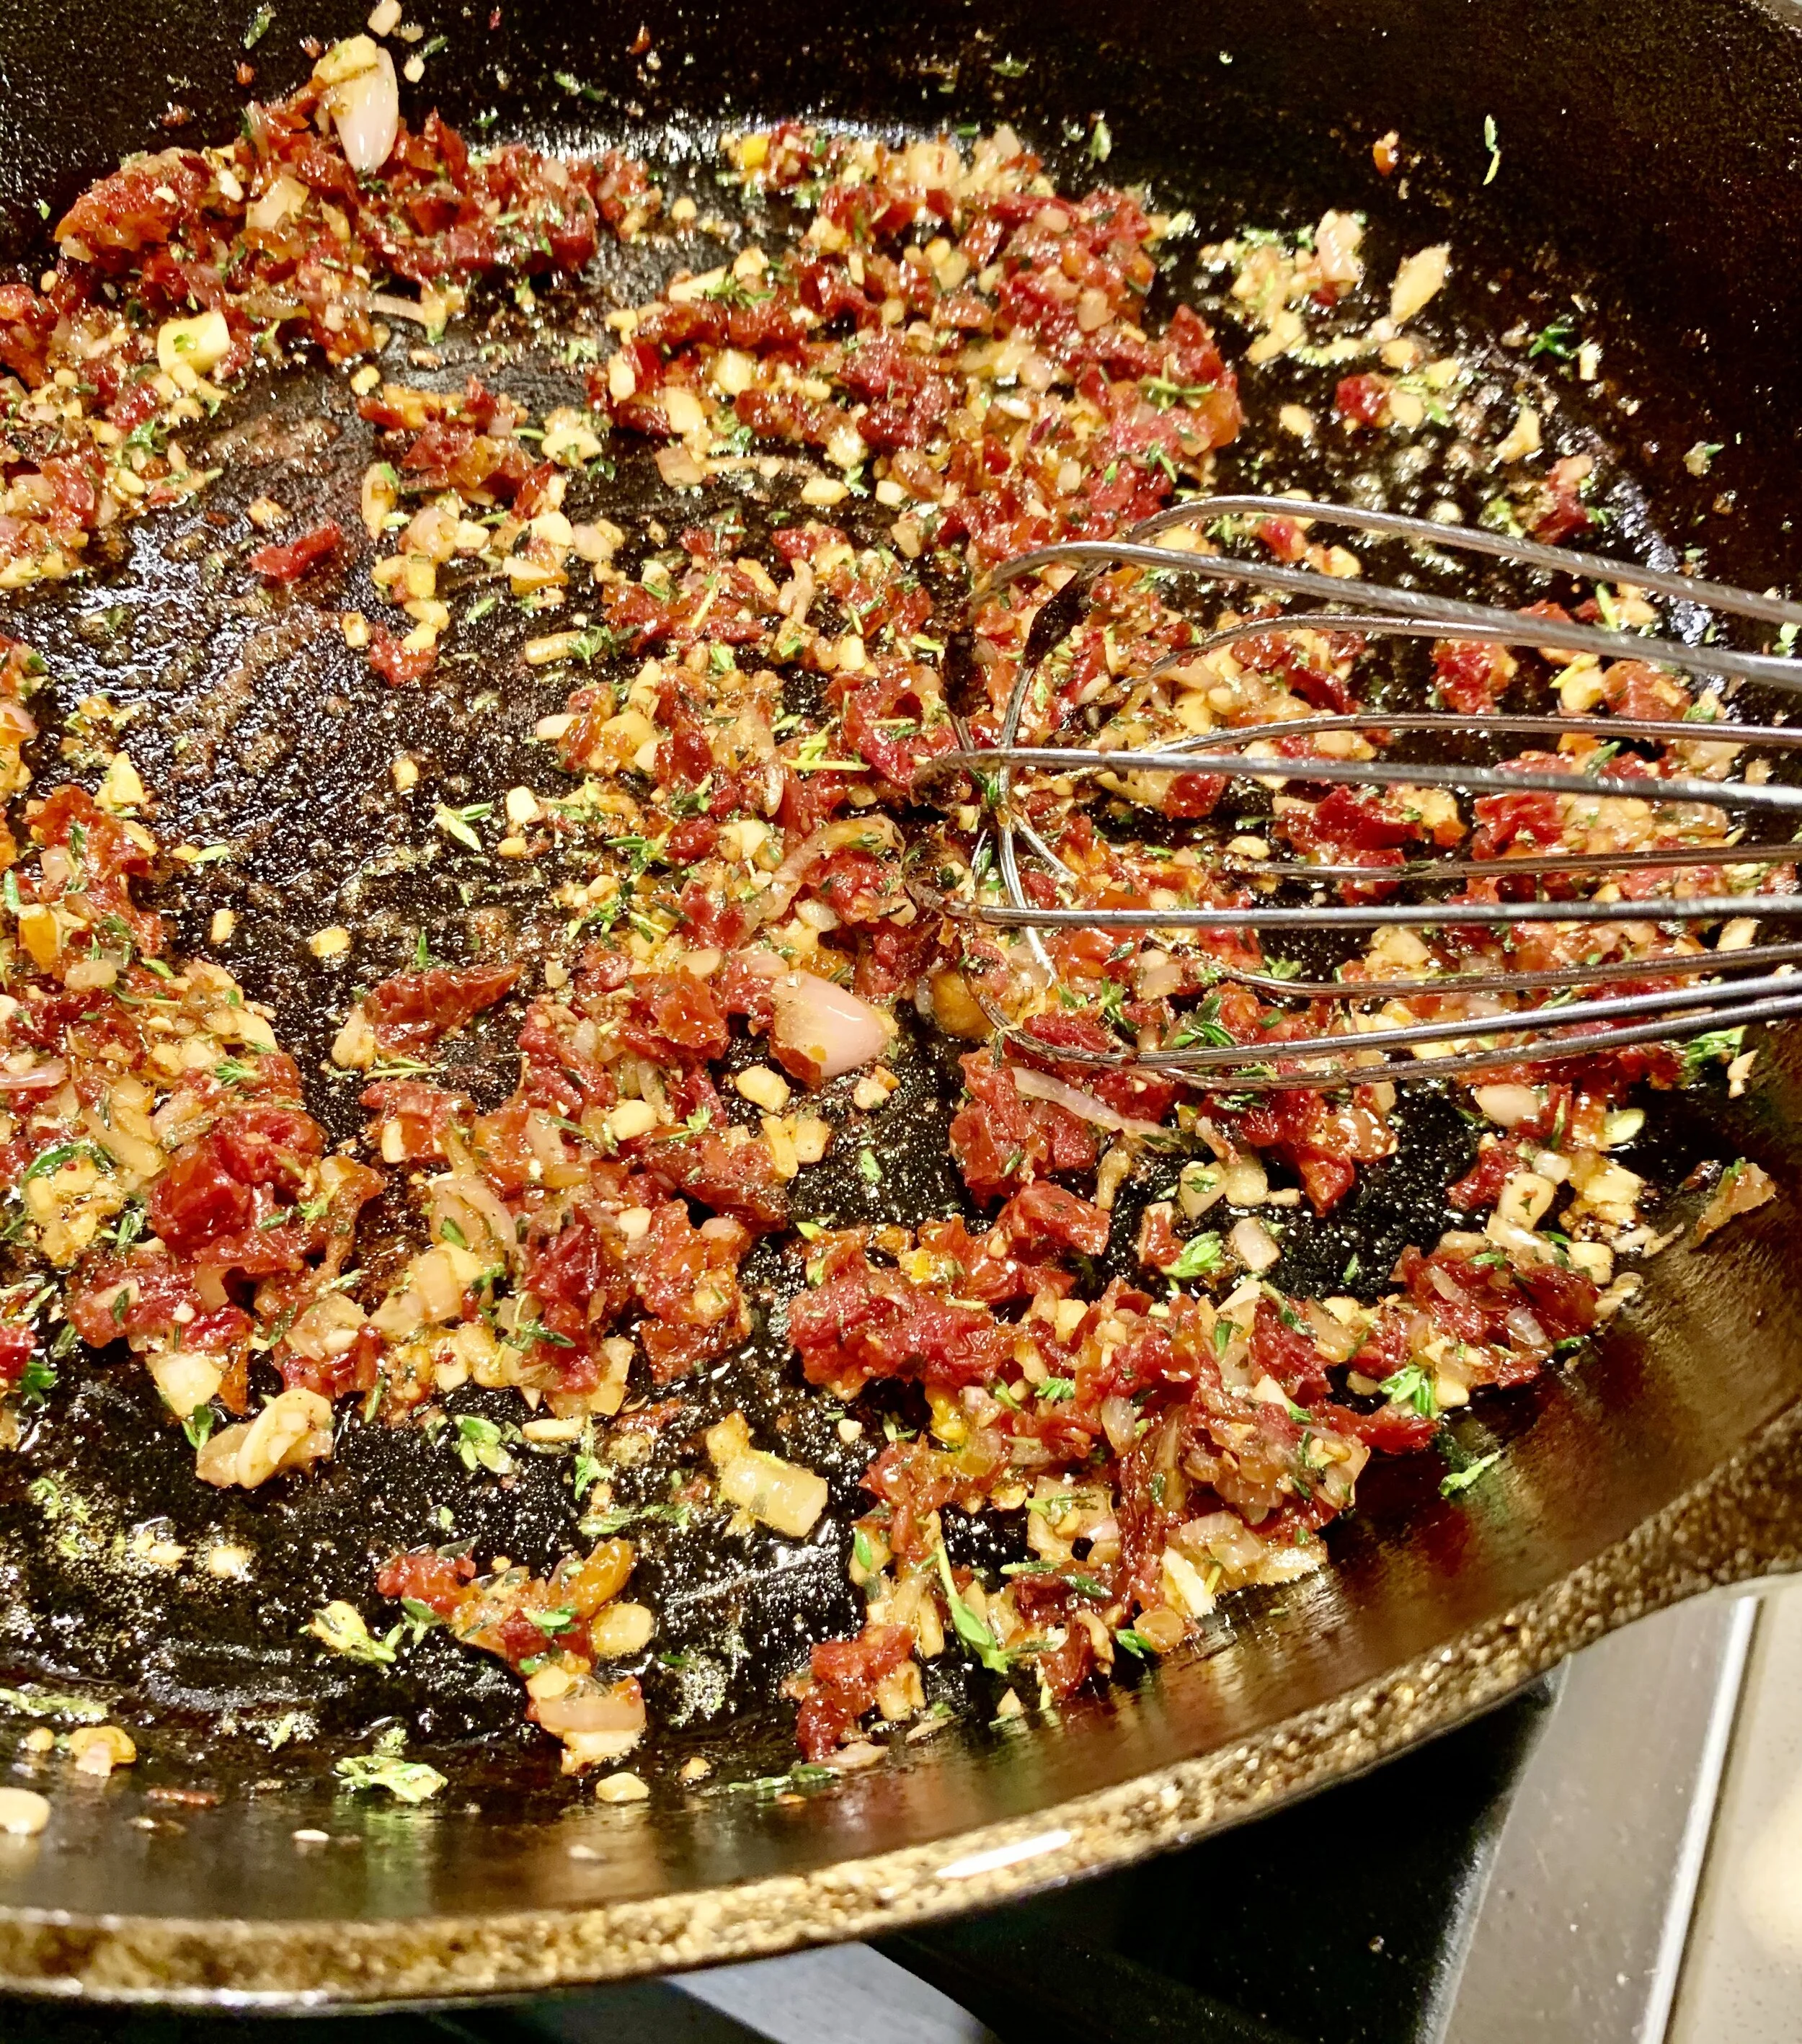
Add 2 Tbs. of butter, garlic, and shallots to your skillet. Sprinkle with salt. Whisk until the shallot and garlic have a little color on them.
Add sun-dried tomatoes, fresh thyme, and red chili flakes (add more if you want it spicy!). Whisk for 1-2 minutes.
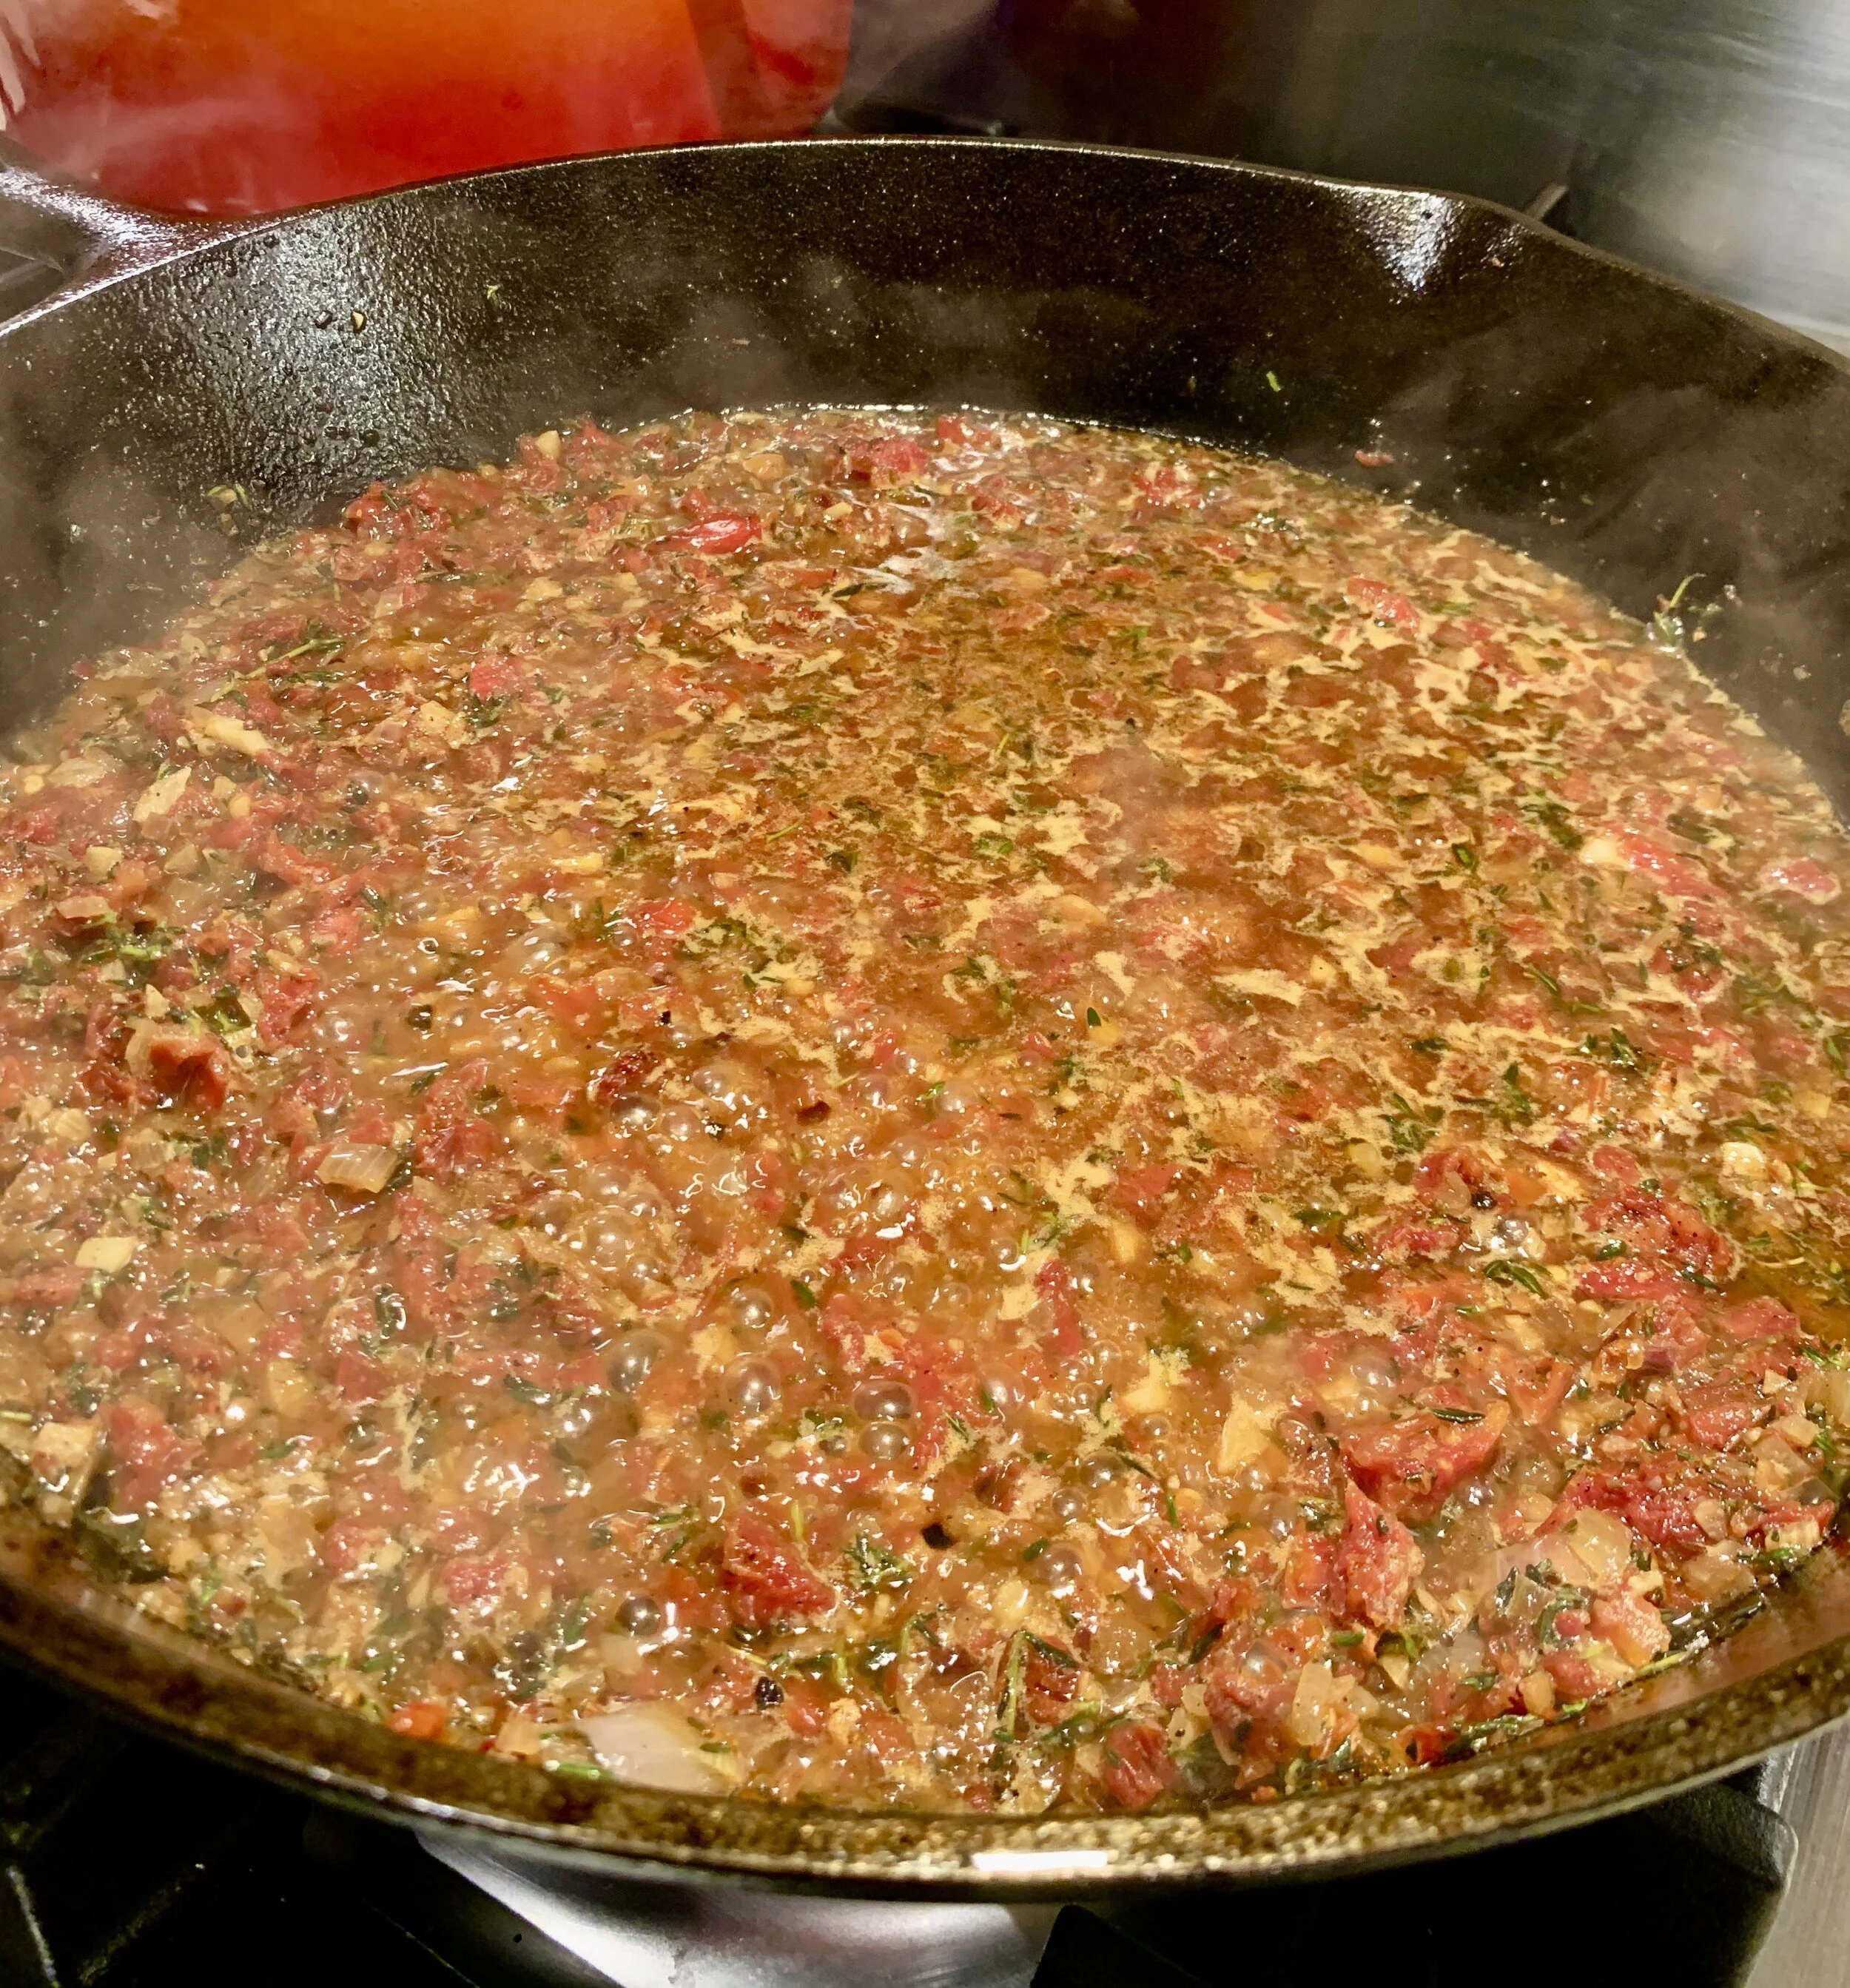
Add 1 1/4 c. chicken broth. Whisk and reduce the sauce by about half (just guesstimate!)
Add 1 c. heavy cream. Bring up to a simmer, then reduce to low.
Taste! Does it need more salt, pepper, chicken broth?
11) Check pasta for doneness.
Once the pasta is finished AND before draining the pasta water, reserve 1/4 c. of the starchy pasta water.
Drain the cooked pasta.
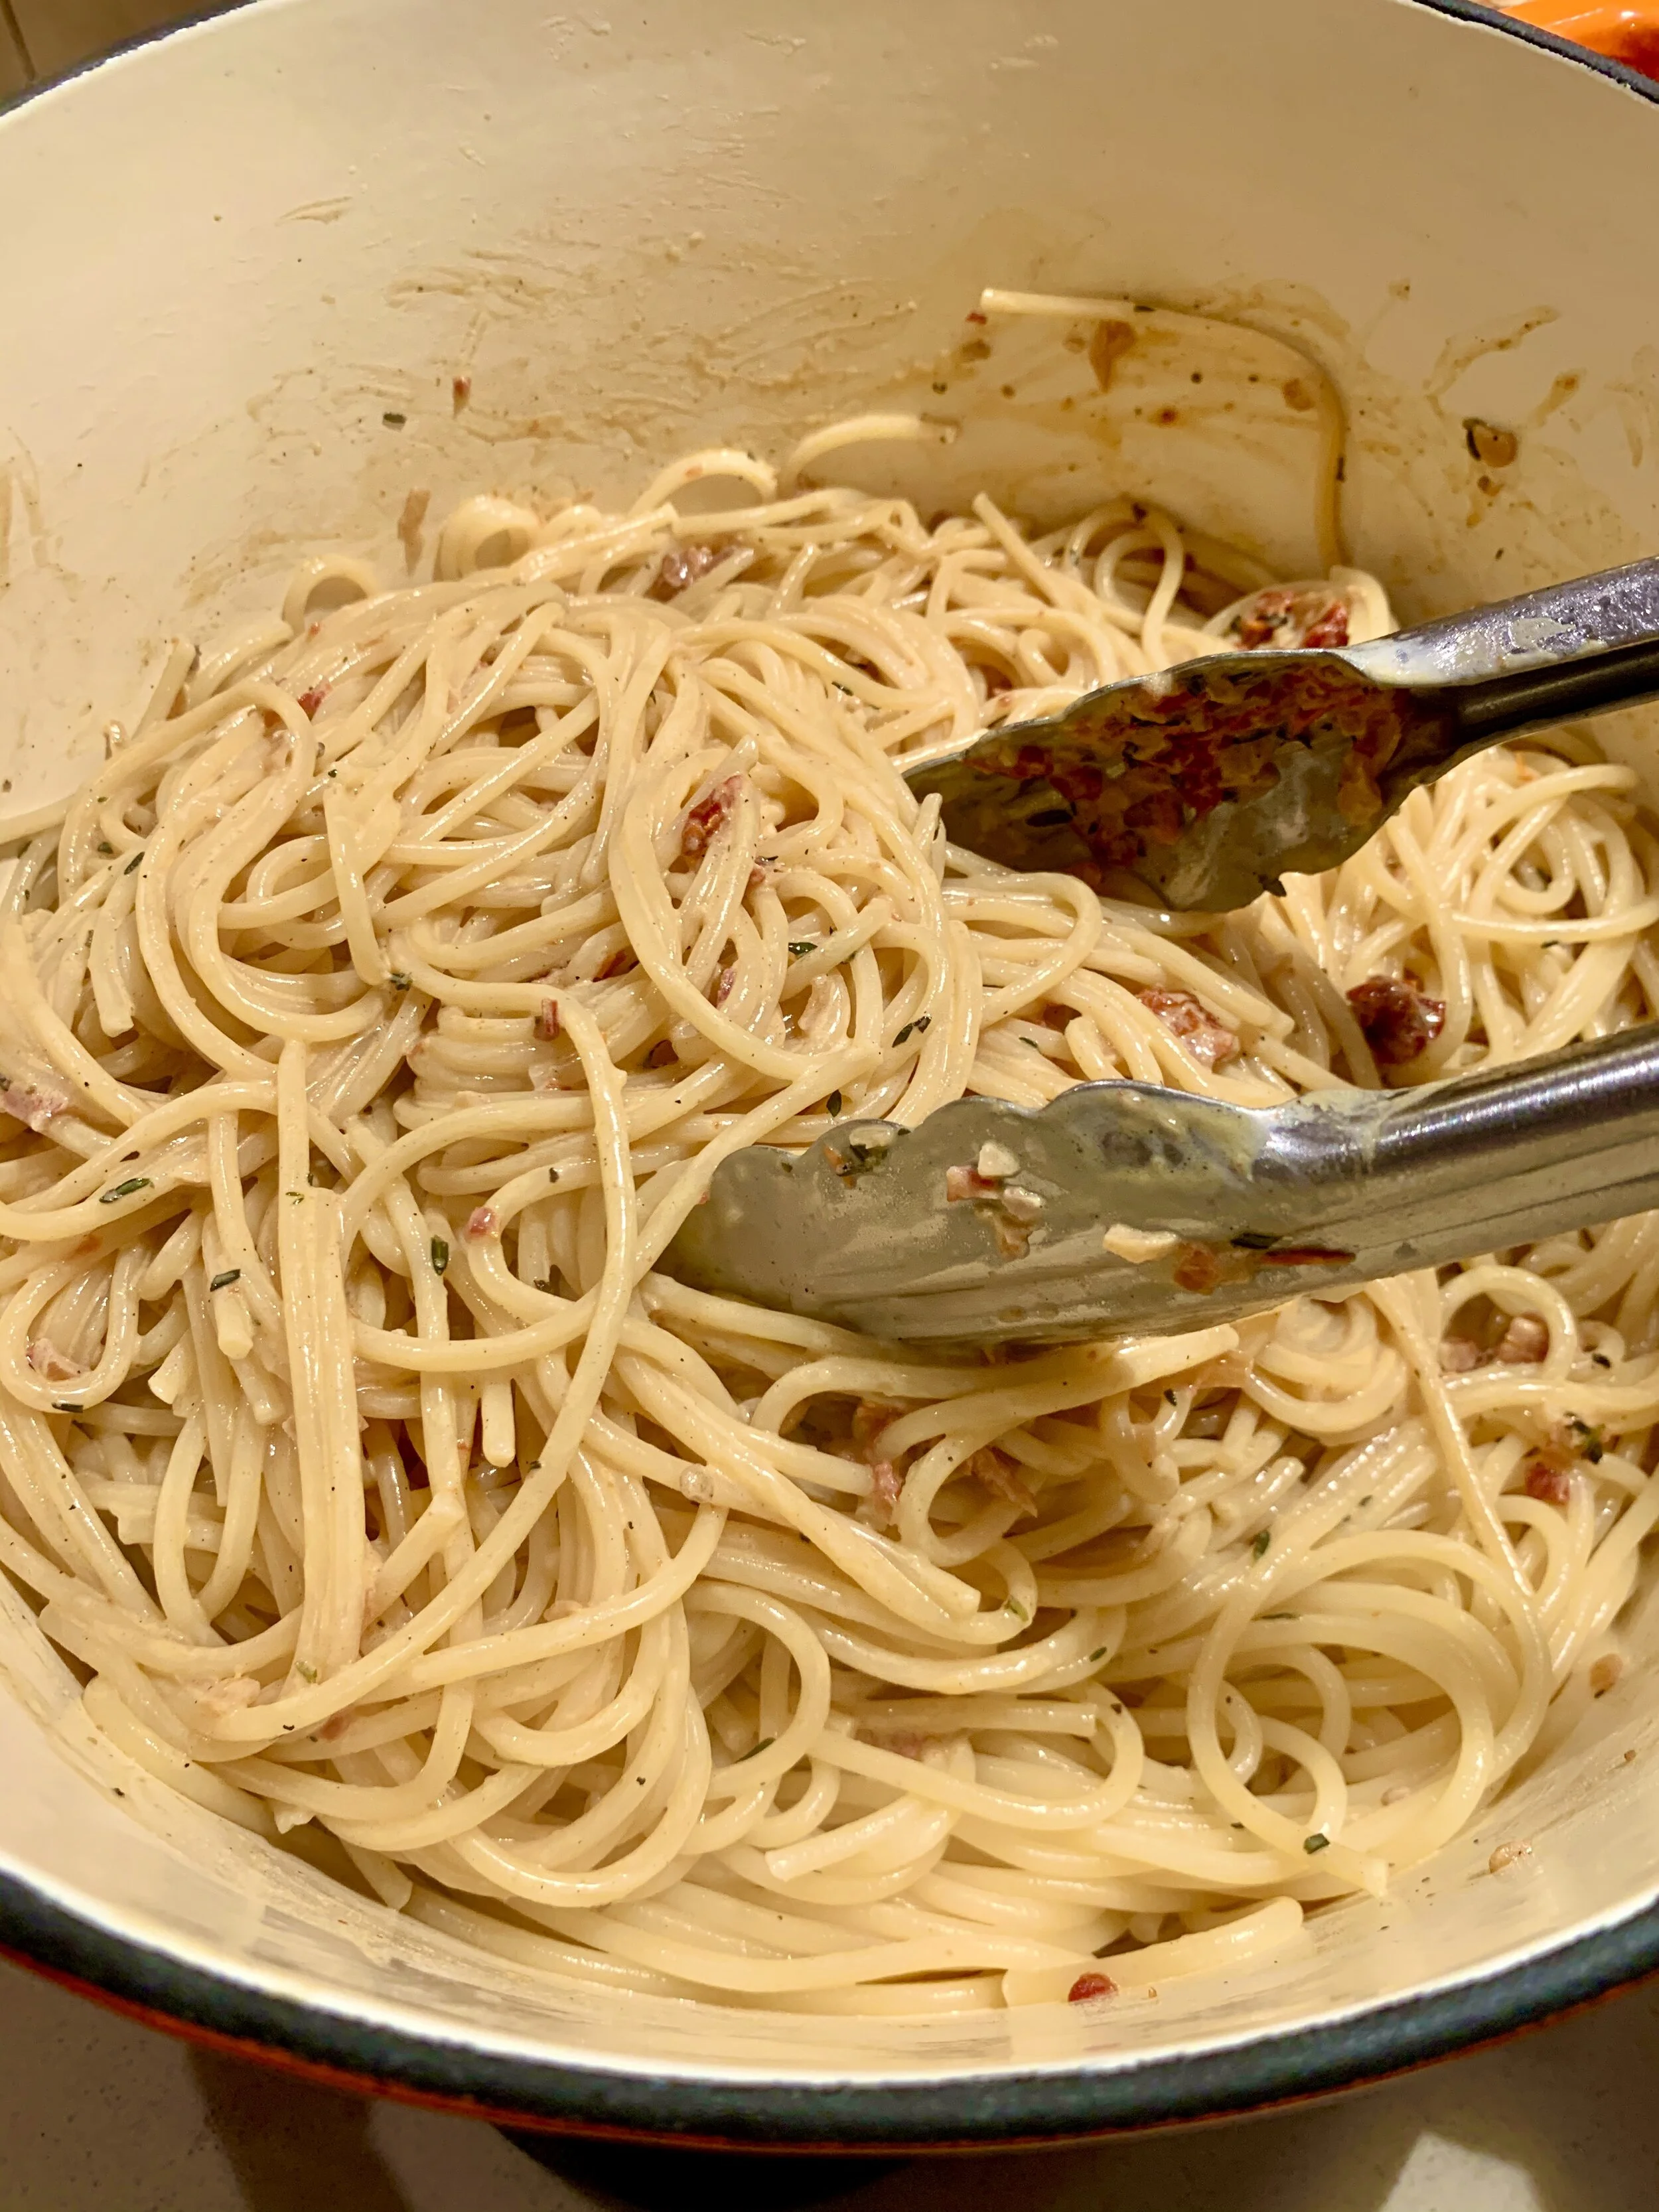
Place the cooked pasta and pasta water back into the pot.
Then, add the remaining 2 Tbs. of butter and half of your creamy sun-dried tomato sauce. Toss until fully incorporated.
12) Start plating!
Remove broccoli from the oven. Add as a side to each plate.
Split the saucy pasta into generous servings on each plate.
Top the pasta with a chicken breast.
Add the remainder of your cream sauce on top of each chicken breast.
Top the chicken with parmesan.
Enjoy!
Real Tips:
Why do we reduce sauces?
It concentrates the flavors! It also helps make your sauce a bit thicker so it’s doesn’t run across your plate. By understanding the purpose of reducing, you are able to make sauces as thin or as thick as your want!
Is the sauce too thick? Not thick enough?
Too thick? Just add a bit more chicken broth or heavy cream at the end!
Not thick enough? Reduce further OR mix 1 Tbs. of cornstarch with 1/4 c. of chicken broth. Add to your sauce and mix.
Roasted broccoli crispness.
I love it when the florets are super crispy! If you don't like it crispy, then only roast the broccoli for 20 minutes at 400 degrees.
Why add salt to the water when cooking pasta?
It makes for a tastier pasta since the pasta absorbs some of the flavor.
Though, if you are making a really salt-heavy sauce, I would reduce the amount of salt you add to the pasta water to help balance out the flavors.
Why reserve pasta water?
Pasta water retains some of the starchiness of the pasta and helps your sauce more easily incorporate throughout the pasta when tossing it.
I normally don't measure out the amount of pasta water I want, I just leave a slight amount in the pot when draining the pasta. I do not save pasta water for every dish though! For example, a thicker sauce like a bolognese is meant to be thick, so I don’t add any leftover water.
Finishing meats in the oven.
I find it much easier to sear the protein to how I want it on the stovetop, then finishing in the oven over indirect heat. It is definitely up to you which route you want to take--finishing in the oven or cooking all the way through on the stovetop.
To learn more, read the Guide to Searing and Finishing Meats.
Block vs. pre-grated cheese?
Pre-grated cheese has additives and preservatives that help cheese stay separated in its packaging so it doesn't clump together. Pre-grated cheese is great (pun intended!) if you’re short on time and energy, but it doesn’t melt as well as grating it yourself.
